 Harry

This post contains affiliate links. As an Amazon Associate I earn from qualifying purchases, at no extra cost to you.
As the nights draw in and the touring season winds down, most of us start thinking about putting the caravan away until spring. But a British winter can be hard on a caravan left standing for months: frozen pipes, damp, flat batteries and seized brakes are all common (and expensive) surprises come Easter.
The good news? Winterising a caravan isn’t complicated. Set aside an afternoon, work through the steps below, and your van will be ready to go the moment the weather turns.
1. Give It a Thorough Clean, Inside and Out
Start with a clean caravan. Dirt, leaves and food crumbs left over winter encourage mould, pests and staining.
- Outside: wash the bodywork with a caravan-safe cleaner, clear leaves and moss from gutters, window seals and roof vents, and check the sealant around windows, lights and the roof for cracks. Small gaps let water in, and a winter of rain will find them.
- Inside: remove all food (including tins, which can burst if they freeze), wipe down cupboards and surfaces, and vacuum carpets and upholstery.
2. Drain the Water System Completely
This is the most important step. Water left in pipes, taps or the heater can freeze, expand and split components, and a burst water heater is a costly repair.
- Open every tap, hot and cold, and set mixer taps to the middle position. Leave them open all winter.
- Drain the water heater. Most Truma heaters have a yellow drain valve (frost control valve); flip it open and let it empty. Check your handbook for your model.
- Lower the shower head into the tray so it drains, and open the shower tap.
- Remove the water filter cartridge (e.g. Whale or Truma) as it holds water.
- Empty any inboard fresh water tank and leave the outlet open.
- Empty your Aquaroll and waste container, rinse them, and store them with the caps off so they dry out.
Tip: Hitching the caravan up and lowering the jockey wheel, then raising it again, tilts the van and helps the last bits of water run out of the pipes.
3. Empty and Clean the Toilet
Empty and rinse the cassette, then the flush tank if it’s separate. Leave the cassette blade slightly open and give the seal a light coat of seal lubricant (Thetford sells one) so it doesn’t stick or dry out over winter.
4. Make the Gas Safe
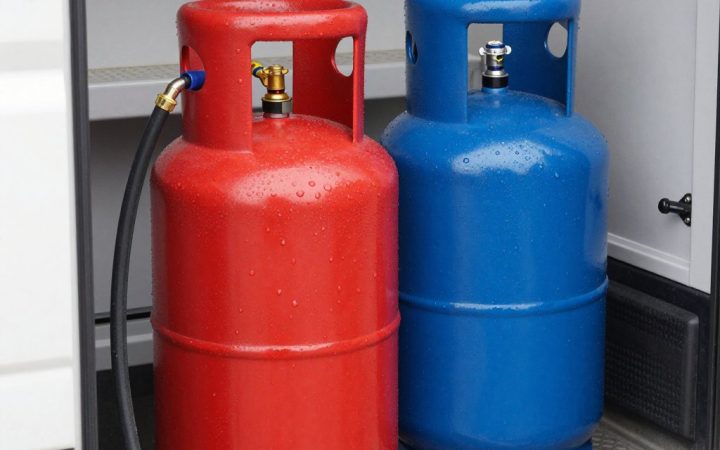
Turn off the gas at the cylinders and disconnect the regulator. Store cylinders upright in a well-ventilated place, never inside the caravan’s living area. If your storage site has rules about gas cylinders, follow them; many require them to be removed.
5. Look After the Leisure Battery
A leisure battery left to discharge over winter may never fully recover. Either:
- take it out and store it somewhere dry and frost-free, topping it up with a smart charger every 4–6 weeks; or
- leave it in place on a suitable maintenance charger if you have mains hook-up at home or at storage.
Also switch off the 12V system at the control panel and remove batteries from smoke alarms, clocks and remotes, as they can leak.
6. Stop Damp Before It Starts
Damp is the silent caravan killer. Keep air moving and moisture down:
- Leave all vents uncovered. They’re there by design.
- Prop open the fridge and freezer doors (most have a vent catch for this).
- Stand cushions and mattresses on their edges so air can circulate, or take them home if you can.
- Leave lockers, cupboards and wardrobe doors slightly open.
- Place a couple of moisture traps (dehumidifier tubs) inside and empty them on your visits.
- Take home bedding, towels and clothing.
7. Protect the Tyres and Brakes
- Leave the handbrake off and use wheel chocks instead. Brakes left on all winter can seize.
- Check tyre pressures and either fit axle stands or move the van slightly every few weeks to avoid flat spots on the tyres.
- Consider tyre covers to protect against UV cracking.
- Lightly grease the hitch head and corner steady threads.
8. Secure It Properly
Winter is peak season for caravan theft. Fit a wheel clamp and hitch lock, and check what your insurer requires. Many insist on specific approved devices or a CaSSOA-rated storage site. A tracker is well worth considering if you don’t already have one.
9. Cover It (Carefully)
If you use a cover, make sure it’s a breathable, caravan-specific one. A cheap tarpaulin traps moisture and can rub the paintwork in the wind, doing more harm than good.
10. Check In Every Few Weeks
Winterising isn’t “set and forget.” Every month or so, pop in to check for leaks or damp, empty the moisture traps, check the battery and tyres, and give the van an airing on a dry day.
Quick Winterising Checklist
- ☐ Cleaned inside and out, food removed
- ☐ Water system drained, taps open, filter removed
- ☐ Toilet emptied, blade seal lubricated
- ☐ Gas off and disconnected
- ☐ Battery removed or on maintenance charge
- ☐ Vents clear, fridge propped, cushions on edge
- ☐ Moisture traps in place
- ☐ Handbrake off, chocks on
- ☐ Wheel clamp and hitch lock fitted
- ☐ Breathable cover on (if used)
Spend an afternoon on this now, and when spring comes your first trip should start with a quick de-winterise and a cup of tea, not a repair bill. Happy (off-season) caravanning!